


Open Policy Agent (OPA) is a tool developed by Styra that offers a control plane utilised for policy authoring and enforcement as the admission controller of a Kubernetes cluster. To simplify the process of designing and testing Rego policies Styra offers Declarative Authorisation Service (DAS)
This blog post focuses on establishing OPA as the admission controller of a Kubernetes cluster utilising the Styra DAS where we will go through the features of Styra DAS Free edition and see how it simplifies OPA policy administration.
If you’re interested in learning more about OPA / Rego, I recommend reading the Rego documentation or enrolling in the “OPA Policy Authoring” Course at Styra Academy.
So, let’s get ready to have some fun.
Fundamentals
To follow along with the examples in the blog post, you’ll need a few prerequisites:
- An account with Styra DAS, available here: Styra DAS Free
- Admin access to a Kubernetes cluster (Minikube, Kind, Managed Cluster)
- Fundamental knowledge of Kubernetes and the functionality of OPA and Policies utilising Rego.
Setup a Kubernetes System
The initial step is to log into Styra and create a Kubernetes system using the DAS UI, followed by installing the System agent OPA in the cluster and linking them, ensuring the Rego policies created will then be enforced on the cluster.
From the menu on the left hand side we have the option to + a system
- Click Add system
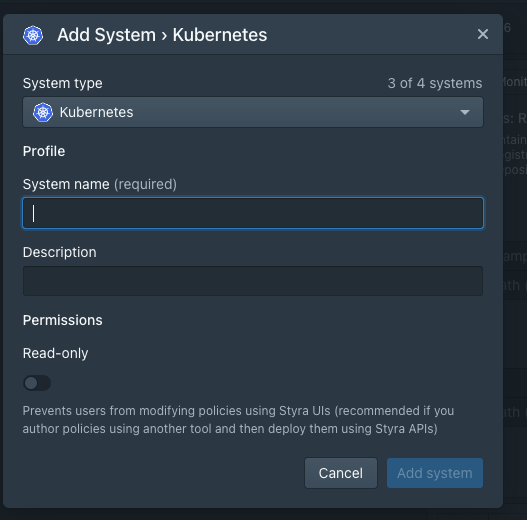
- Name your new Kubernetes system
We are then presented with the option to name our system, feel free to name the system anything you wish. In this example we have gone with the name DAS-Cluster
- Optionally enter a Description
- Leave Read-only switch off
- Click Add system
Install the system agent in Kubernetes cluster
Following the creation of the System, we must instal OPA in the Kubernetes cluster and bring the DAS System up to date with OPA. Simply run the System agent installation scripts to complete the process.
Go to System > Settings > Install tab to do so. The system agent can be installed in our Kubernetes cluster using many methods such as helm or kustomize however, in this demostration we will utilise the kubectl commands to install our agent.
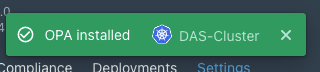
When OPA syncs with Styra DAS, you’ll get a notification that DAS-Cluster has been successfully configured.
Apply the following Sample Kubernetes Resources to demonstrate compliance violations later in our example:
# Sample Kubernetes resources

kubectl apply -f https://raw.githubusercontent.com/StyraInc/configuration-examples/main/kubernetes/deployments/all_samples.yaml
Adding Policy Rule
Policies enable you to reject resource configurations that could be harmful to your Kubernetes cluster. Every system’s policies are recorded in the inventory as nested documents. You can construct a policy by either adding pre-built rules or writing your own. The rules you’ve established will have no effect on your cluster until you publish them.
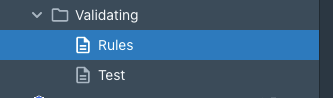
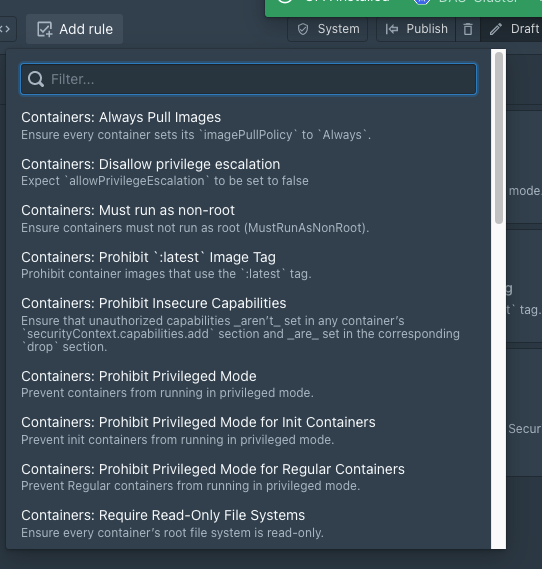
To add Validating Policy Rules one can take advantage of the Quick Start guide to add several pre-configured policies or choose to manually add the rules you desire from the list of available. This inventory of pre-defiend rules can be accessed via the Add rule as seen here.
There are a wide choice of pre-built rules that don’t require any configuration available, however some of these rules will require further configuration
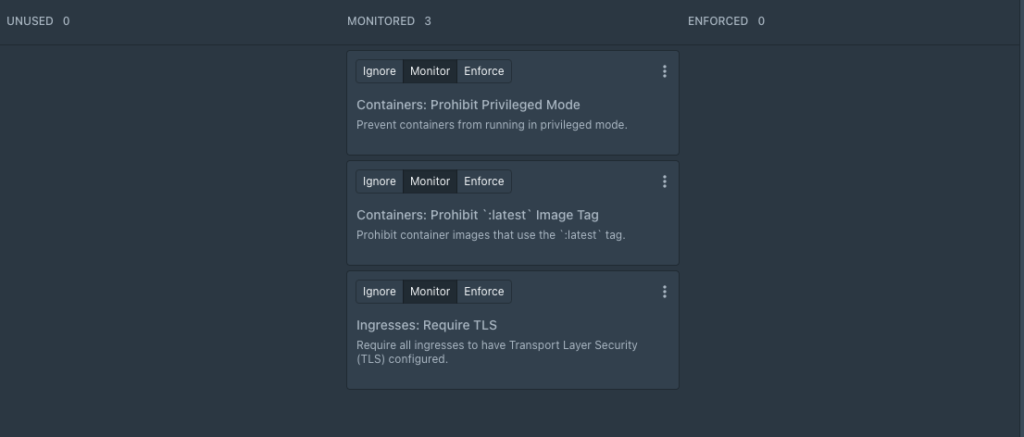
Any new rules that require configuration, will begin in the Unused column, otherwise, they will default to the MONITORED column
Policies Example
To demonstrate the utility of Styra DAS, we shall apply the following rules with OPA:
Pre Defined Validating RulePre-Defined Validating Rule with ParametersPre-Defined Mutating Rule with Parameters
Pre Defined Validating Rule
The “latest” tag must not be used in the Containers: When deploying containers, avoid using the latest tag because it is more difficult to tell which version of the image is running and to roll back properly.
We’ll add our first validating rule to prevent containers from being executed with the ‘latest’ tag. We’ll choose and import an existing predefined rule from the Policy library, which will save us time in terms of writing and testing the rule.
To add the rule, go to the Add Rule dropdown, choose the required rule, Containers: Prohibit latest Image Tag. to enforce the rule and then publish the changes.
Pre-built Validating Rule with Parameters
Containers that run with user id 0 can undertake privileged operations like configuring the network and mounting new filesystems hence we will enforce a rule to ensure that the user id of containers is not 0 and containers utilise a regular user id that will not have the ability to run privileged operations.
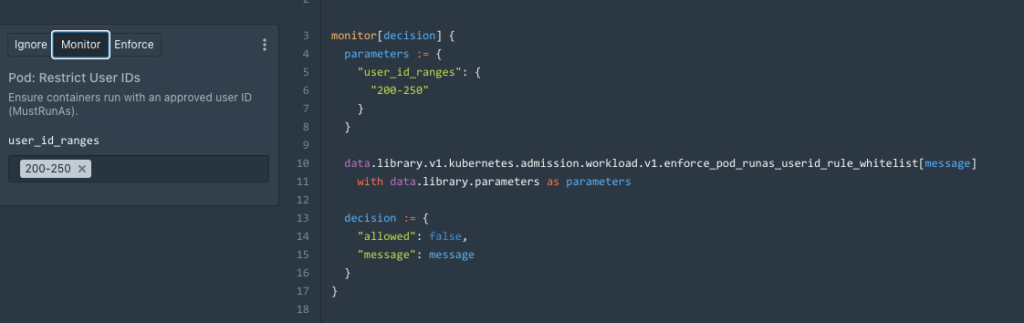
To add our rule we will go into our inventory of validating rules and locate the rule “Pod: Restrict User IDs”

This rule requires further configuration and information before we can utilise it, in our example, will add a rule to Restrict User IDs to all users with IDs ranging from 200-250.

Once we have entered the custom user_id_ranges the rule can be moved to either the Monitor or Enforce state.
Custom Mutating Rule
Instead of employing a Validating rule to reject the incoming request, our third policy focuses on changing it on the fly. To assist us better identify pods deployed in the “default” namespace, we’ll use a Mutating Rule to update their labels.
We can setup the rule under System > Mutating > Rules and Publish the changes to write our mutating policy.
Configure with Code
Selecting the Code option from within our UI also allows you to edit our rules using code. Our Rules and accompanying code are then displayed side by side.
- The snippets/code editor works both ways:
- The code is updated when you make modifications to the snippets.
- The snippet’s fields reflect the changes you make in the code.
package policy["com.styra.kubernetes.mutating"].rules.rules

enforce[decision] {
    #title: Add Default NS Label
    input.request.object.kind == "Pod"
    input.request.object.metadate.namespace == "default"
    input.request.object.metadata.labels
    decision := {
        "allowed": true,
        "message": "Adding Default NS Label",
        "patch": [{
            "op": "add",
            "path": "/metadata/labels/app",
            "value": "default-test",
        }],
    }
}
In part two of this blog we will take a closer look at Compliance and Validation along with writing and testing Validation Rules